
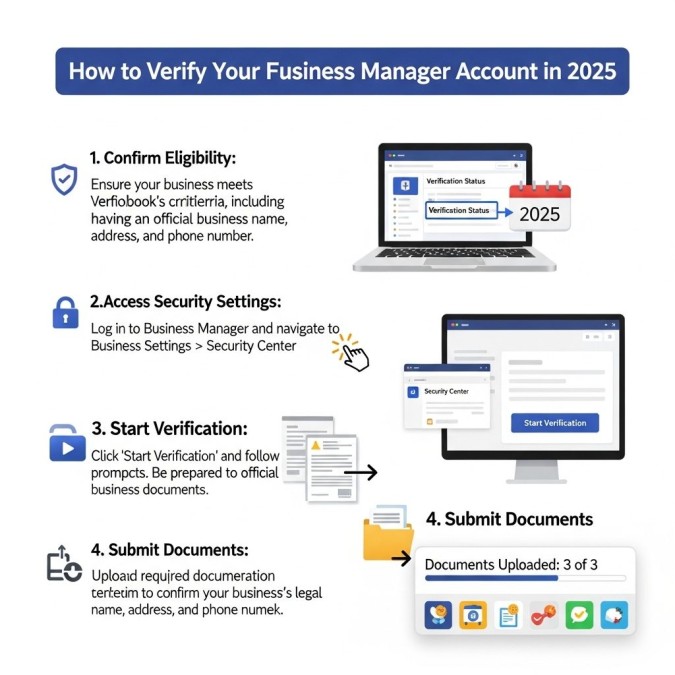
✅ How to Verify Your Facebook Business Manager Account in 2025
Unlock full access to Meta’s tools, protect your brand, and prepare for WhatsApp Business API integration
Verifying your Facebook Business Manager account is a critical step for any legitimate business operating on Meta’s platforms. Whether you’re planning to run ads, integrate the WhatsApp Business API, or manage multiple assets across Facebook and Instagram, verification ensures your brand is recognized, protected, and fully functional.
This guide walks you through the entire process—from account creation to domain verification—so you can confidently navigate Facebook’s business infrastructure in 2025.
🏢 Step 1: Create Your Facebook Business Manager Account
Before you can verify your business, you need to create a Business Manager account. If you haven’t already done so, visit Facebook Business Manager and follow the prompts to set up your account. Alternatively, go directly to Create Business Manager to begin.
Once your account is created, you’ll gain access to the Business Settings dashboard, where verification and asset management take place.
🔐 Step 2: Begin the Business Verification Process
To initiate verification:
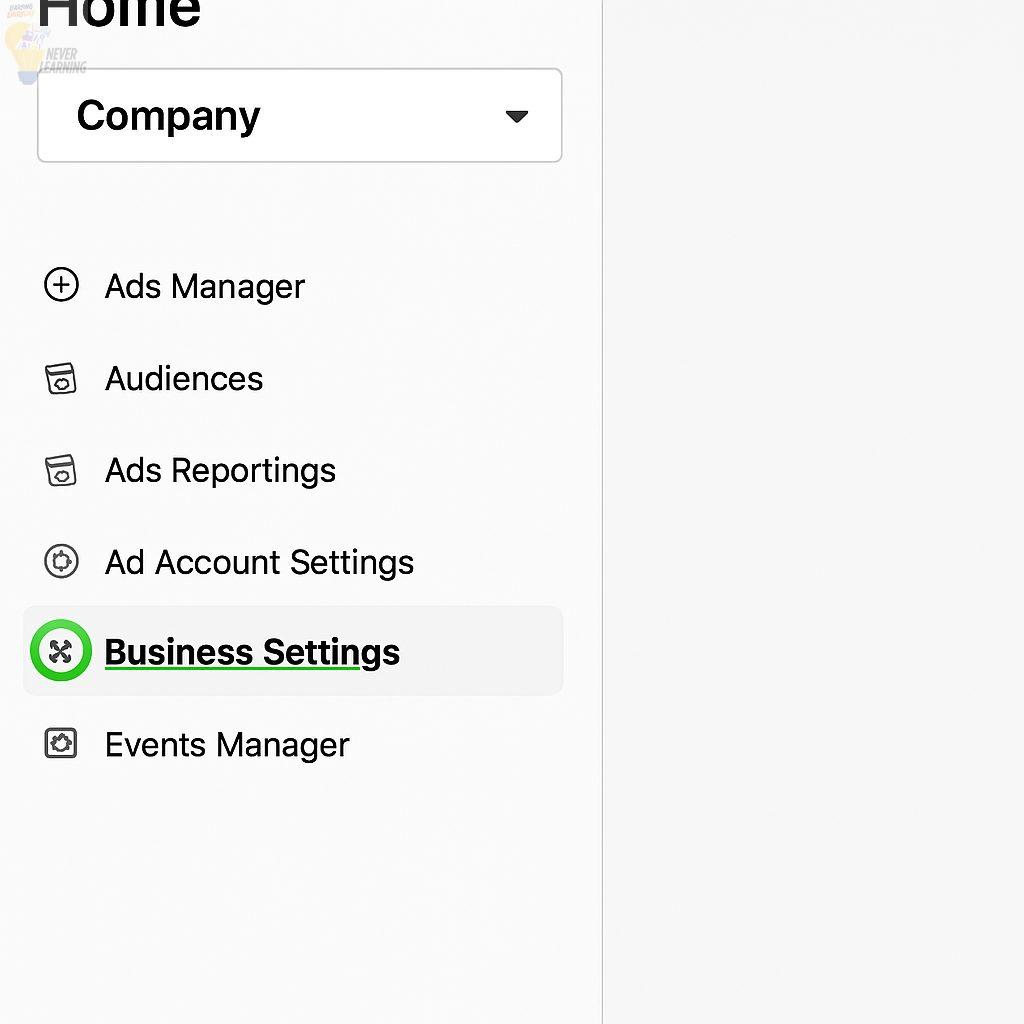
1. Log in to Facebook Business Manager.
2. In the left-hand navigation panel, click Business Settings.
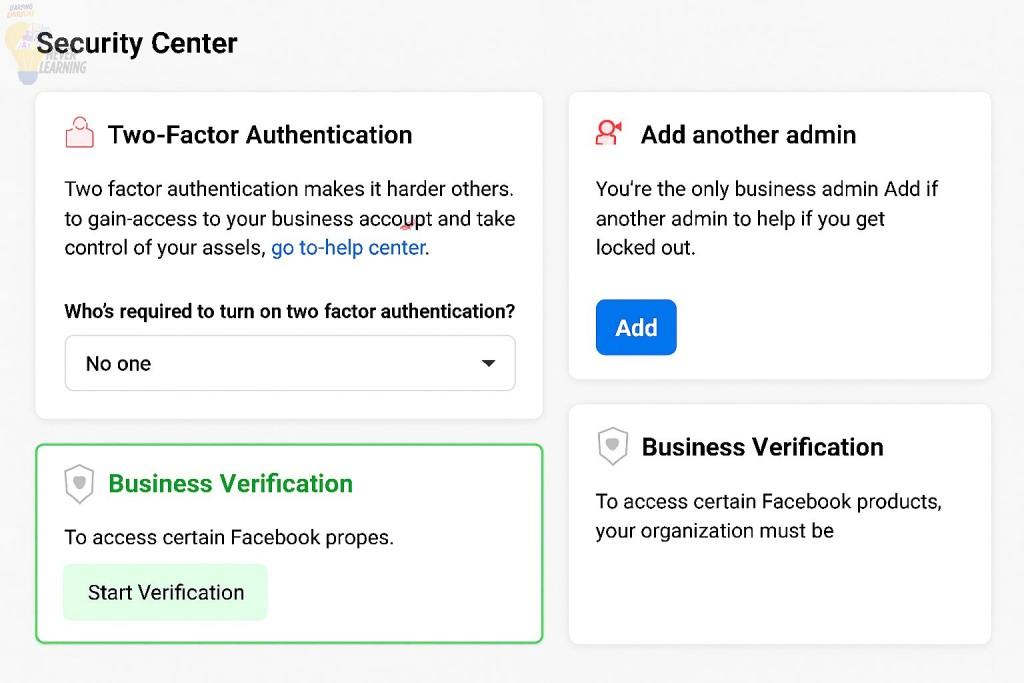
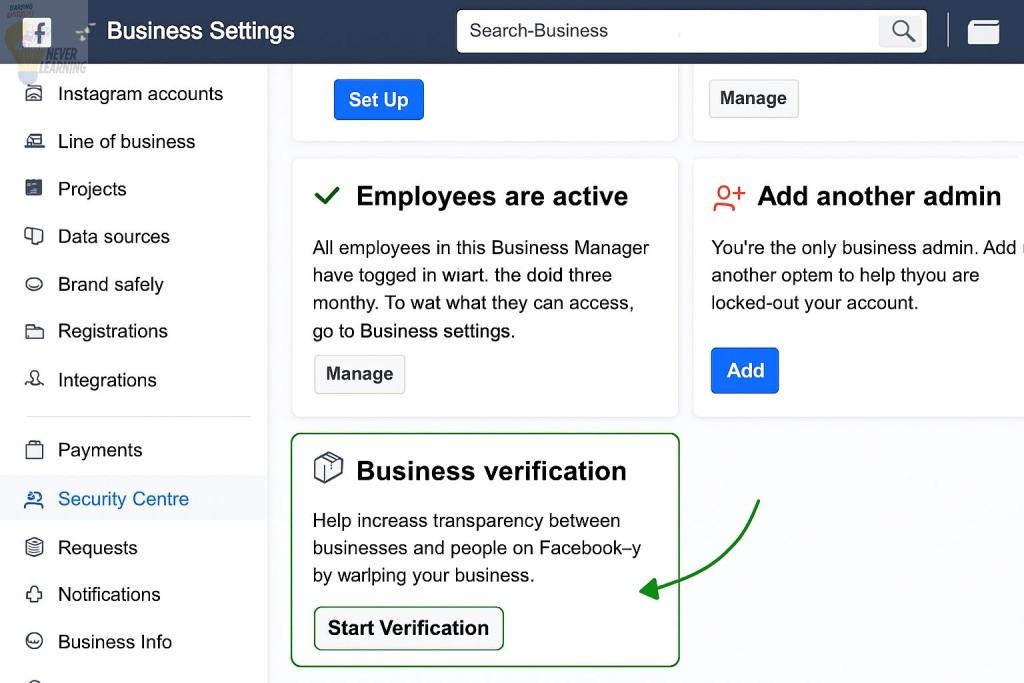
3. Scroll down and select Security Centre.
4. Click the Start Verification button.
📄 Step 3: Submit Your Business Details
Once you begin the verification process, you’ll be prompted to fill out your business information. Accuracy is key—make sure all details match your official documentation.
Required Documents
To verify your business, you’ll need to upload:
1. Proof of Legal Name (choose one):
• Certificate of Incorporation
• Business Registration (BR)
• VAT or Tax Certificate
2. Proof of Business Address (choose one):
• Utility Bill (electricity, phone, etc.)
• Bank Statement
All documents must be clear, in color, and show the full page. Facebook may reject blurry or cropped submissions.
📲 Step 4: Verify via OTP (One-Time Password)
After submitting your documents, Facebook will send a one-time password (OTP) to confirm your business identity. This may arrive via:
• SMS
• Email
• Phone call
Note: In some regions, phone verification may not be available. If you don’t receive the OTP promptly, you can request a new one. For persistent issues, refer to Facebook’s troubleshooting guide for phone number errors.
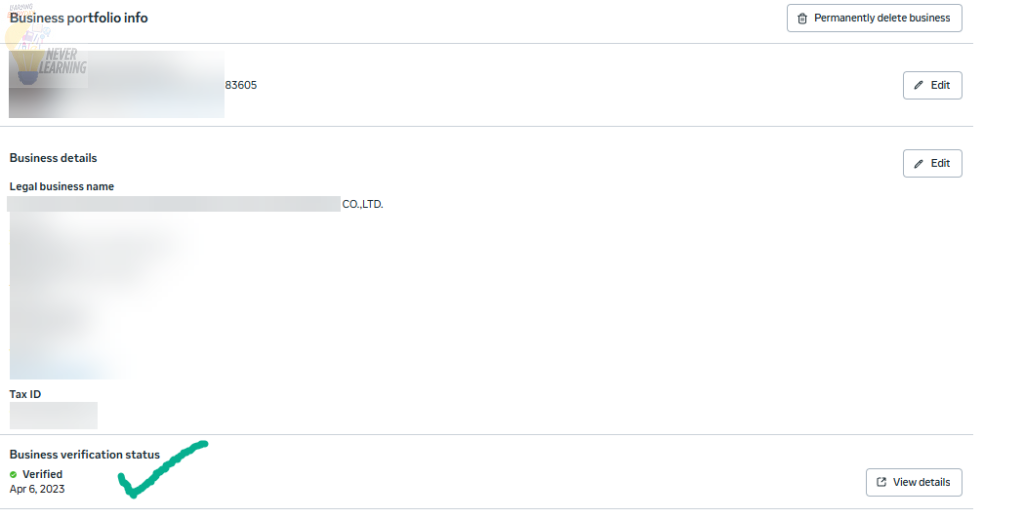
Once verified, you’ll see confirmation under Business Settings → Business Info.
🌐 Step 5: Verify Your Domain (Optional but Recommended)
Domain verification adds credibility and unlocks advanced features like pixel tracking, ad attribution, and brand safety controls. It also helps prevent unauthorized use of your domain in Facebook ads.
To verify your domain:
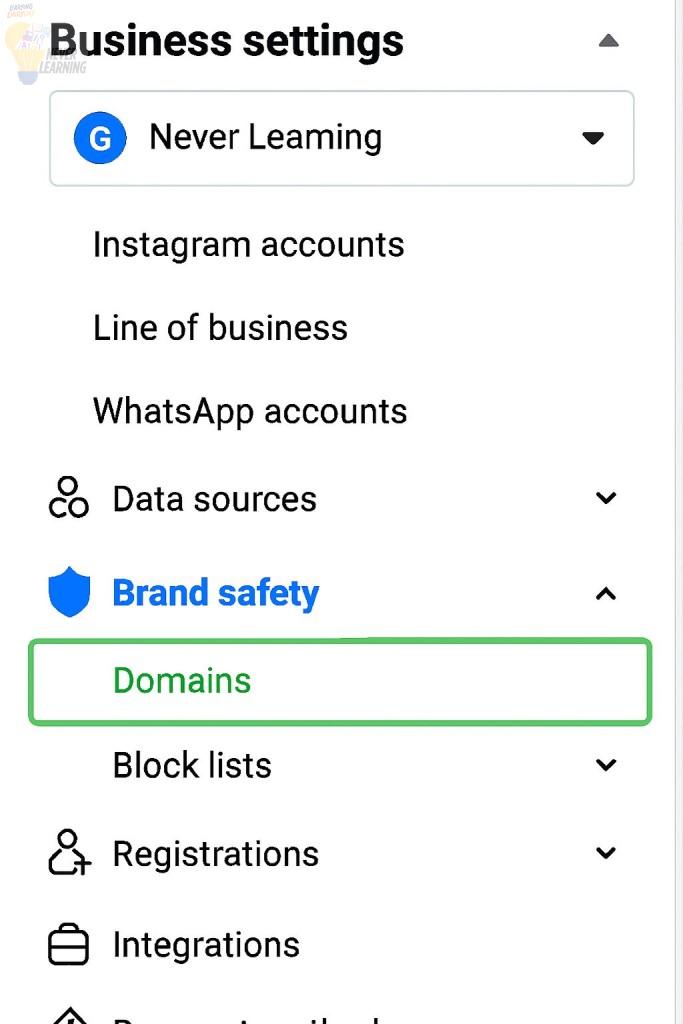
1. Go to Business Settings → Brand Safety → Domains.
2. Click Add a New Domain.
3. Choose one of the following verification methods:🔧 DNS Verification
• Log in to your domain registrar (e.g., GoDaddy, Cloudflare).
• Add a new TXT record to your DNS settings.
• In the hostname field, enter “@” (if required).
• Paste the TXT value provided by Facebook.
• Return to Business Manager and click Verify.
📁 HTML File Upload
• Download the HTML file from Facebook.
• Upload it to your website’s root directory.
• Return to Business Manager and click Verify.
🏷️ Meta-tag Verification
• Open your website’s homepage HTML.
• Paste the meta-tag into the section.
• Save and publish the changes.
• Confirm the tag is live by viewing your page source.
• Return to Business Manager and click Verify.
⏱️ How Long Does Verification Take?
Once submitted, Facebook typically reviews your application within 1–5 business days. If everything matches and complies with Meta’s policies, your Business Manager will be verified.
🚫 What If the “Start Verification” Button Is Disabled?
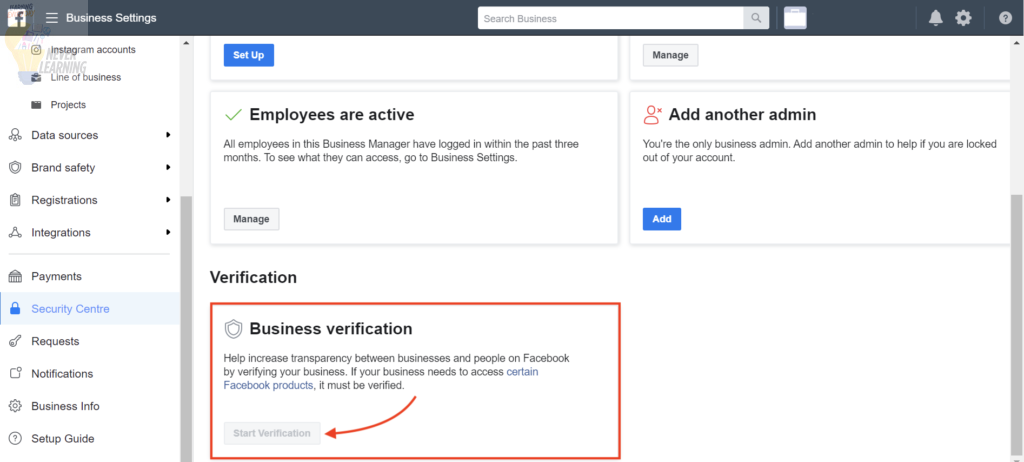
This is common for new accounts that haven’t yet linked an app or requested access to advanced features. To enable the button:
Enable Verification via Facebook Developers:
1. Visit the Facebook Developers Portal.
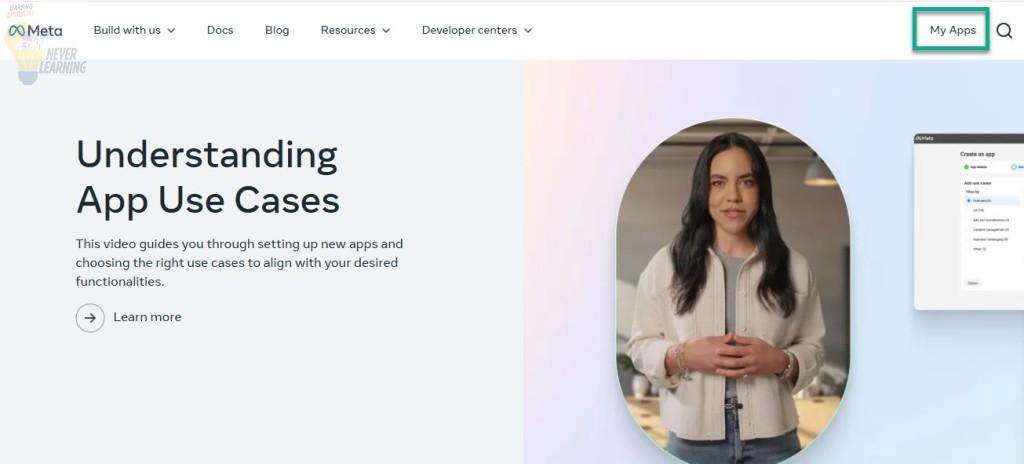
2. Click Get Started or My Apps in the top-right corner.
3. Select Create App.
4. Choose any app type and click Continue.
5. Enter your email, app name, and purpose.
6. Select your Facebook Business account from the dropdown.
7. Click Create App.
Once your app is created, return to Business Manager → Security Centre. The Start Verification button should now be active.
📣 What Comes After Verification?
Once your Facebook Business Manager is verified, you unlock full access to Meta’s tools—including the WhatsApp Business API. This allows you to:
• Send automated messages to customers
• Run click-to-chat ad campaigns
• Integrate chatbots and CRM systems
• Deliver bilingual support and transactional updates
For businesses like SmartLearning.in.th, this is a game-changer—especially when targeting Thai parents or segmenting audiences by education level and income.
📝 Final Thoughts
Verifying your Facebook Business Manager account is more than a formality—it’s a foundational step for scaling your brand, protecting your assets, and unlocking Meta’s full suite of tools. Whether you’re launching ad campaigns, integrating WhatsApp, or managing multiple domains, verification ensures your business is recognized and trusted.